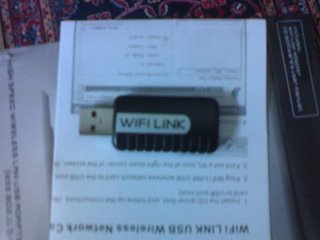
Adventures in WiFi
 Setting up the WIFI LINK Adapter on the PC or laptop is pretty straightforward stuff; just install the drivers, plug in the device and then set it up as an access point using the software that came with the driver installation. Despite how complicated it may sound, access point setup is actually quite easy in practice; just don't forget to select a bridge adapter to a current network connection which hooks up to the Internet.
Things get a bit harder when it comes to connecting the Nintendo DS to the access point. I came up with the following settings for Mario Kart DS' WFC setup through some trial and error. My network is set-up as such that my laptop is connected to my router modem via network cable while the WIFI LINK adapter is connected to the laptop via the USB port.
- Set Auto-obtain IP Address to No.
- Set IP Address to something along the lines of the IP addresses in your network, but of course choose a unique address. In my case, my laptop's IP address is 192.168.1.4 and I set the Nintendo DS's IP address to 192.168.1.9
- Set the Subnet Mask, which I set to 255.255.255.0.
- Set the Gateway, which I set to the router's IP address which in this case is 192.168.1.1
- Set Auto-obtain DNS to No
- Set the Primary and Secondary DNS to Streamyx's (or your particular ISP of choice) DNS which are 202.188.1.5 and 202.188.0.133
